

You’ve compressed a few images, maybe installed a plugin, and your site still feels sluggish. The problem usually isn’t that you did nothing — it’s that you did the wrong things in the wrong order.
Your biggest images are probably not where you think they are
Most people assume their slowest images are the big hero banners at the top of the homepage, because that’s what they notice when the page loads. In reality, the worst offenders are often buried deeper: a product gallery with a dozen full-resolution photos, a blog post with a screenshot pasted straight from a phone, or a logo saved as an uncompressed PNG that’s three times larger than it needs to be.
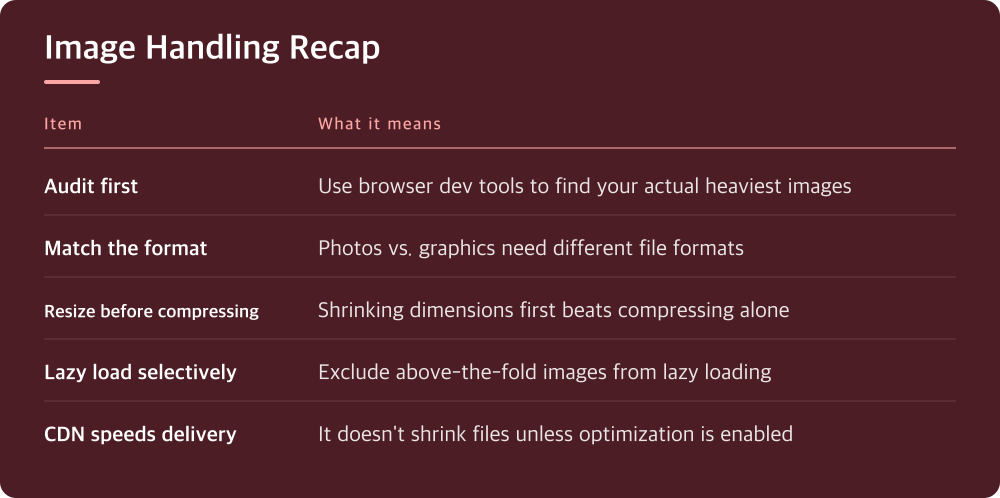
Before you do anything else, actually look at what’s loading. Your browser’s developer tools (the Network tab) will show you every image on a page sorted by file size. Open your heaviest pages — homepage, top landing pages, anything with a gallery — and see what’s actually weighing them down. You can’t fix what you haven’t measured.
This step matters because it stops you from wasting time optimizing images that were never the problem. If your 50KB thumbnail is fine but your 4MB background image is killing load times, no amount of fiddling with the thumbnail helps.
File format choice matters more than most people realize
Not all image formats are created equal, and using the wrong one for the job is one of the most common mistakes. Photos generally compress better as JPEG or newer formats like WebP or AVIF, while graphics with flat colors, text, or transparency (logos, icons, screenshots with UI elements) usually do better as PNG or SVG.
Newer formats like WebP and AVIF typically produce smaller files than JPEG or PNG at similar visual quality, but browser support and your hosting/CMS setup can affect whether they’re generated and served automatically. Check your image editing tool, your CMS media settings, or your CDN’s image optimization features to see what formats they support and whether conversion happens automatically or needs to be triggered.
If you’re on WordPress, several plugins can handle format conversion and serve the right version to each visitor’s browser. Compare what each plugin actually does — some just compress, others convert formats, some do both — rather than assuming they’re interchangeable.
Resizing before upload saves more than compressing after upload
A photo straight off a modern phone or camera is often several times larger, in both dimensions and file size, than anything your site will actually display. Uploading that file and letting your CMS or theme shrink it visually doesn’t reduce the amount of data sent to the visitor’s browser — the full-size file still loads, it just gets displayed smaller.
The fix is to resize the image to the actual dimensions it will be shown at before you upload it, then compress it on top of that. This two-step approach — resize first, compress second — consistently produces smaller files than compression alone, because you’re not asking the compression to do all the work on an image four times bigger than necessary.
Most image editing tools, including free ones, let you set exact pixel dimensions. If you’re unsure what size to use, check how wide the content area or image container is on your actual site and resize to match, accounting for retina/high-DPI displays if your theme supports them.
Lazy loading helps real users but can hurt how fast pages feel to measure
Lazy loading — where images below the fold don’t load until the visitor scrolls near them — is genuinely useful for real-world load times, especially on long pages with lots of images. It means visitors aren’t downloading images they may never scroll down to see.
But lazy loading needs to be applied carefully. If it’s applied to images above the fold — the ones visible as soon as the page loads — it can actually slow down how fast the page feels, because those images now wait for a script to trigger before loading instead of loading immediately.
Check your theme or plugin’s lazy loading settings to see whether you can exclude above-the-fold images, or whether it detects this automatically. If you’re not sure which images count as above the fold, view your page at a typical screen size and see what’s visible without scrolling — those should load immediately, everything else can wait.
A CDN changes where images are served from, not whether they’re optimized
A content delivery network stores copies of your site’s files, including images, on servers in multiple locations, so visitors download them from a server closer to them rather than your main hosting location. This reduces the time it takes for the data to travel, which matters more for larger images and for visitors further from your server.
But a CDN doesn’t automatically make a bloated, unoptimized image smaller — it just delivers that same large file faster. Some CDNs include image optimization features (automatic format conversion, compression, resizing) as part of the service; others just handle distribution. Check your CDN’s feature list or your hosting provider’s documentation to see which category yours falls into.
If your CDN does offer image optimization, it’s usually worth enabling, since it handles resizing and format conversion automatically across your whole site rather than requiring you to do it manually for every upload. If it doesn’t, you’ll need to do the resizing and compression work yourself before images reach the CDN.
What to actually do today
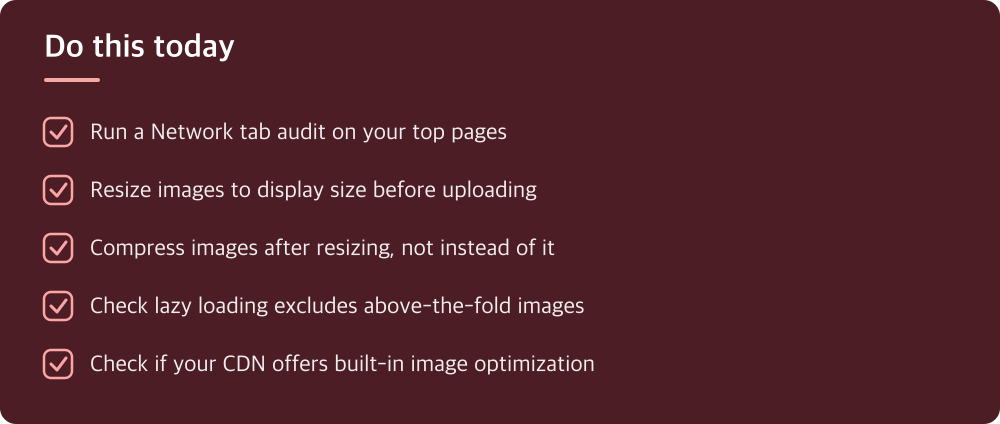
Start with the Network tab audit from the first section — find your heaviest pages and see which specific images are the problem. This takes fifteen minutes and tells you exactly where to focus instead of guessing.
Pick two or three of your highest-traffic pages and manually resize and recompress their worst-offending images using the resize-then-compress approach. Don’t try to fix your entire media library today — that’s a project for another time, and trying to do it all at once is why most people never start.
Then check one setting: whether your lazy loading is excluding above-the-fold images correctly. This is a common misconfiguration and a quick fix once you know where to look in your theme or plugin settings.
Finally, check whether your current hosting or CDN plan includes any image optimization features you’re not using. Compare what’s available in your account dashboard against what you’re currently doing manually — there may be a built-in feature doing half this work for you already.
Do this today
- Run a Network tab audit on your top pages
- Resize images to display size before uploading
- Compress images after resizing, not instead of it
- Check lazy loading excludes above-the-fold images
- Check if your CDN offers built-in image optimization
※ This is informational and not a recommendation of any specific product or company.