

Switching hosts is stressful enough without losing email access. Email keeps working during a host migration only if you plan it right, and the steps are different depending on whether your host manages your domain or you do it yourself. Here’s what actually needs to happen.
Your email lives at your domain registrar, not your host
This is the thing that confuses most people. Your web host stores your website files. Your email settings live somewhere else entirely—at whoever controls your domain’s DNS records. Usually that’s your registrar, but it could be your old host if they’re managing DNS for you. The key is that email doesn’t break because your website moved. It breaks when someone changes the DNS records pointing to the mail server, usually accidentally during migration.
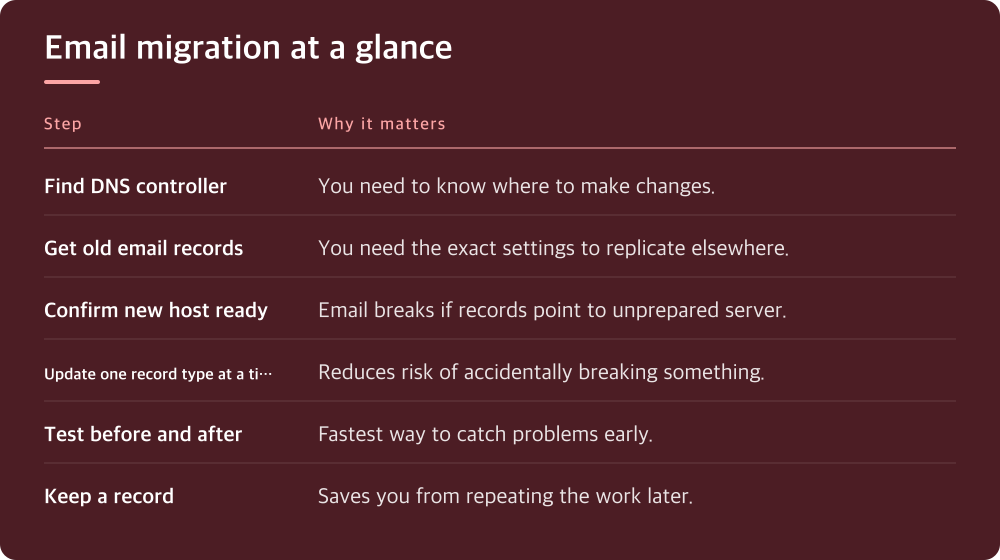
Before you do anything, find out who currently manages your domain’s DNS. Log into your registrar account and look for a DNS management section. If you see nameservers listed that point to your old host’s infrastructure, then your host is managing DNS. If the nameservers point to the registrar itself, you’re controlling DNS directly. This matters because it changes where you’ll need to make changes during the switch.
Get your old host’s email records before you switch
Your current host has MX records, SPF records, and possibly DKIM records set up for your email. These tell the internet where your mail server lives. Before you migrate, log into your old host’s control panel and write down every email-related DNS record. Take screenshots if you can. Don’t assume you’ll remember or find them later—hosts sometimes make old records hard to access after you’ve left.
If your old host manages your DNS, you need these records copied down exactly as they appear. If you manage DNS at your registrar, you still need to know what settings are currently working so you don’t accidentally change something important during the switch. Some hosts have an export function for DNS records. If yours does, use it. If not, the mail settings are usually listed in a section called DNS Management, Email, or DNS Records.
Decide where your email will live after the switch
Here’s your choice: keep email at your old host, move it to your new host, or use a third-party email service. Each option has different DNS requirements. If you’re switching to a new host that handles email, ask them for their MX records and any SPF or DKIM requirements before the cutover. They should have documentation for this—it’s their standard procedure, and if they can’t clearly explain it, that’s a warning sign about the host.
If you’re switching hosts primarily because your new host has better email features, then moving email to the new host makes sense. If your old host’s email works fine and you just don’t like their web hosting, you might keep email there. Some registrars offer email hosting too. Whatever you choose, get the specific DNS records from whoever will be hosting your email next. Write them down.
Time the switch so email doesn’t disappear
The safest approach: point your domain to the new host for your website, but leave email pointed at the old host until you’re ready to switch it. This keeps email working while you test the new site. To do this, your new host gives you their nameservers or specific A records for your website. Your registrar lets you point your website there without touching the mail records. This is only possible if you control DNS at your registrar, not if your old host manages DNS for you.
If your old host controls DNS, the migration is trickier. You’ll need to switch all DNS to your new host at once, including email. Before you do this, coordinate with your new host to make sure their email records are already in place. Ask them to confirm they’re ready to receive your domain’s email traffic. The window when neither host is providing email is usually brief—minutes to an hour—but it’s the risky part. Have your new host’s support available when you make the switch.
Update DNS records only after email is ready
Whether you’re moving email or keeping it at the old host, the actual update is the same: you change the MX records at your registrar or old host’s DNS panel to point to your new mail server. But only do this after your new host (or email provider) has confirmed they’re ready. Rushing this step is how people end up with a few hours where email bounces. Contact your new host’s support and ask them to confirm the exact moment you should update the MX records. Some hosts will actually make the change for you if you ask.
After you update the records, check your email a few minutes later. Send a test email from an outside account to yourself and verify it arrives. Check both incoming and outgoing mail. If something doesn’t work, your new host’s support team should help you troubleshoot. Don’t panic if delivery takes 10-15 minutes on the first attempt—DNS changes take time to propagate.
Verify everything works, then keep records of what you did
Once email is flowing normally at the new host, send and receive a few real test messages before declaring victory. Use webmail if available. Check a few different email clients or phones to make sure they still connect properly. If you had any email forwarding rules or filters set up at the old host, you need to recreate those at the new host—they don’t migrate automatically.
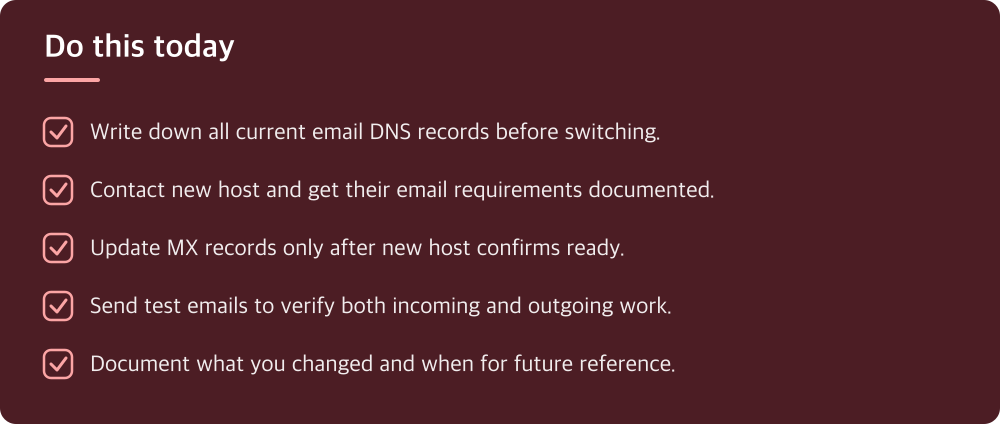
Do this today: document which email DNS records you changed, when you changed them, and what the new records point to. Keep this information in a safe place. If something breaks with email six months from now, you’ll have a record of exactly what’s supposed to be where. This takes five minutes and saves hours of headache later.
Do this today
- Write down all current email DNS records before switching.
- Contact new host and get their email requirements documented.
- Update MX records only after new host confirms ready.
- Send test emails to verify both incoming and outgoing work.
- Document what you changed and when for future reference.
※ This is informational and not a recommendation of any specific product or company.